 Ok, today I'd like to show you how to make a reflection effect using Adobe Illustrator. As always, I'll make it step by step and with simple description. I'll use a text as example for this tutorial. Here we go!
Software: Adobe Illustrator CS
Step 1
Create a new file with any Artboard Setup and make sure you select the RGB Color for Color Mode.
Step 2
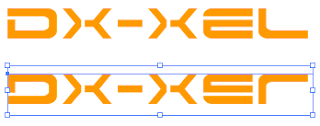
Type anything at the artboard. For example dX-Xel. Hehe..Select the text and set Size : 36 pt, Color : Orange. It would be something like below.

Step 3
Copy the text (Ctrl + C) and paste it in front (Ctrl + F). Click the text, press Shift key and drag it to the bottom of the original text (see below).

Step 4
Select the duplicate text and right click > Transform > Reflect. Set Axis: Horizontal with Angle : 0 (see below).

Step 5
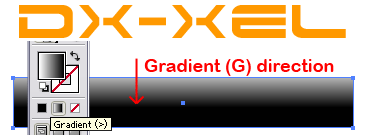
Select the Rectangle tool or just press M to draw a rectangle and place it on the top of the duplicate text. Fill the rectangle with the gradient color by clicking this tool
 . Select the Gradient Tool by pressing G. Press Shift + left click from top to the center of the image and release your left mouse click. See below:-
Step 6
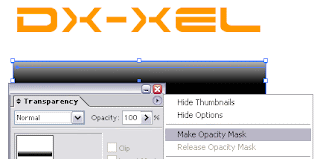
Select the text and the rectangle image and go to Transparency palate, press the small arrow button on the right of the palette and Make Opacity Mask (see below).

That's all? Yeahh..That's all. You may move the reflect image exactly under the original one. You also can modified the Opacity value to 70%, add some background or anything. It's up to you.
Our final result:

Note: You can apply this tutorial if you want to make a reflection to an image.


0 comments:
Post a Comment